22 de febrer del 2015

Plush Cat Pencil Cases

I've been waiting to make this pencil cases since last spring! I saw some cat pencil cases on tumblr, but my two cat lover friends's birthdays are on winter and I had to wait... The first idea was quite different than the final result, but this one it's more practical. I got inspired by this youtube video and the main differences with my project are that I modified the pattern (mine is smaller and more square-ish) and fully lined with felt.

He esperat des de la primavera passada per poder cosir aquests estoigs! Vaig veure una imatge a tumblr, però els aniversaris de les meves amigues amants dels moixos són a l'hivern, així que havia d'esperar... La idea inicial era bastant diferent, però el resultat final és més pràctic i fàcil de fer. Aquest vídeo de youtube va inspirar-me i les principals diferències amb el meu projecte són que he modificat la plantilla (la meva és més petita i quadrada) i està completament folrat amb feltre.


20 de gener del 2015

Gastby Hat

Both my father and boyfriend use to wear hats during winter, so I decided to make a Gatsby hat for them back in 2012 (it was supposed to be a kind of Christmas gift). After some problems with the brim and after stitching and unstitching it 4 or 5 times, I put the project on hold. It was forgotten all summer and finished this during Christmas holidays.

Tant mon pare com el meu al·lot duen gorres quan fa fred, per això vaig decidir fer-ne una per hom al 2012 com una espècie de regal de Nadal. Després de diversos problemes amb la visera i després de cosir-la i descosir-la 4 ó 5 vegades, vaig deixar el projecte de banda. Va quedar oblidat durant tot l'estiu i el vaig acabar durant les passades vacances de Nadal.


The pattern and tutorial are from aboutGoodness and there is an easy to follow step by step. The modifications done: I don't remember using interfacing because the wools (outside fabric and lining) were hard enough and the brim is thinner (this way it's more comfortable, according to the users). It was troublesome to find a good material for the brim; I started with felt (baaaad decision), one layer of plastic, more layers of plastic, then attached duct tape, less layers of plastic with duct tape... what worked the best? One layer of felt to give it the form and thickness and 4 or 5 layers of the strongest interfacing I could find.

El patró i tutorial són d'aboutGoodness i hi ha un pas a pas amb fotografies molt útil. Modificacions fetes: no record haver utilitzat entretela perquè les llanes (per dafora i per forrar) ja eren prou gruixades i la visera és més estreta (així la gorra és més còmoda). El més complicat va ser trobar un bon material per la visera: vaig començar amb feltre (mala elecció), una capa de plàstic, diverses capes de plàstic, afegint-hi cinta americana, menys capes de plàstic amb cinta americana... què ha funcionat millor? Una capa de feltre per donar forma i gruixa i 4 ó 5 capes de l'entretela més forta que vaig trobar.

Some close-ups.

I couldn't avoid taking some silly faces with one of the hats before giving it (however, it looks great on my father). And it's not a type of hat I would wear, I need something to cover my hears!

No vaig poder evitar fer-me fotos estúpides amb una de les gorres abans de donar-les (però a mon pare li queda molt bé). I no és un tipus de gorra que jo duria, necessit que m'abrigui les orelles!


This year I'll try to be more active and to not get involved in too complicated projects for me (I just get frustated and abandon them). Have a nice 2015!

Aquest any intentaré ser més activa i no començar projectes massa complicats perquè només aconseguesc frustrar-me i deixar-los de banda. Que tingueu un bon 2015!

31 de desembre del 2014

Black and Yellow gifts

For today I want to share two little black and yellow projects that I love, even if they are quite simple. The first one is a Game of Thrones themed pencil case I made for a Secret Santa; my friend likes House Baratheon and he is currently using the gift ♥ (that's what I enjoy about making gifts, people being happy and finding a use for the presents). The embroidery was a bit tricky, but the result is nice.

Avui vull compartir dues creacions en groc i negre que m'encanten, tot i ser bastant simples. La primera és un estoig de Joc de Trons per un amic invisible; li va agradar molt al destinatari i de fet, l'està utilitzant i tot! (aquesta part és la que més m'agrada de fer regals, alegrar algú i que li trobin un ús als obsequis). La part del brodat va ser una mica complicada, però al final ha quedat molt bé.


The second gift is a cat face was handmade in one night from scratch, just to cheer up a friend. It was meant to be a surprise, but someone told her about it... however, she liked it anyways. No good photos about it because it was a quick project, no time to think and no time to take photos xD

El segon regal és una cara de moix fet completament a mà en una nit per alegrar una amiga. Havia de ser una sorpresa, però algú li va dir... de totes maneres, li va agradar igualment. Tot i que no hi ha gaires fotos perquè va ser una cosa ràpida, sense temps per pensar ni fer fotos xD


Happy New Year to everyone!
Bon any nou a tothom!

29 de novembre del 2014

Blue&White Oriental Dance Outfit

My last sewing project was quite complex and took many hours to complete. I've been bellydancing for more than two years now and I got my stage name a week ago, so I needed an outfit for that show. At the end, I made everything (harem pants, bra, belt and armbands) except for the skirt (a circular one with two splits).

La meva darrera aventura de costura ha estat bastant complexa i ha duit moltes hores de feina. Ja fa més de dos anys que faig dansa del ventre i fa una setmana em vaig posar un nom de ballarina, així que necessitava un conjunt per l'espectacle. Al final ho faig fer tot (calçons, sostens, cinturó i cintes pels braços), excepte la falda (és circular i té dos talls).


For the harem pants, I found this useful tutorial from www.shira.net; I just had some problems with the crothc, but my teacher's mother helped me (she also dances and makes all costumes for the show at the end of the school year).

Pels calçons vaig utilitzar aquest tutorial de www.shira.net; només vaig tenir uns problemes amb les costures centrals, però la mare de la meva professora em va ajudar un munt (també balla i fa tot el vestuari de l'espectacle de fi de curs). 


For the armbands, I used both this tutorial and this video, which are very similar. The last thing I made are the three flowers (one in the bra and two in the belt) with this tutorial, because I didn't find any brooch I liked, The rest of the outfit was made without pattern.

Per les cintes dels braços vaig utilitzar tant aquest tutorial com aquest vídeo, que són molt semblants. L'últim que em quedava per fer eren les flors (una pels sostens i dues pel cinturó) amb aquest tutorial, perquè no trobava cap fermall que m'agradàs. La resta del vestit la vaig fer sense patró (els sostens i el cinturó).


That's everyone who participated in the show. It was a great experience!
I finalment, tothom que va participar a l'espectacle. Va ser una experiència magnífica!

22 de setembre del 2014

The Poppy Outfit

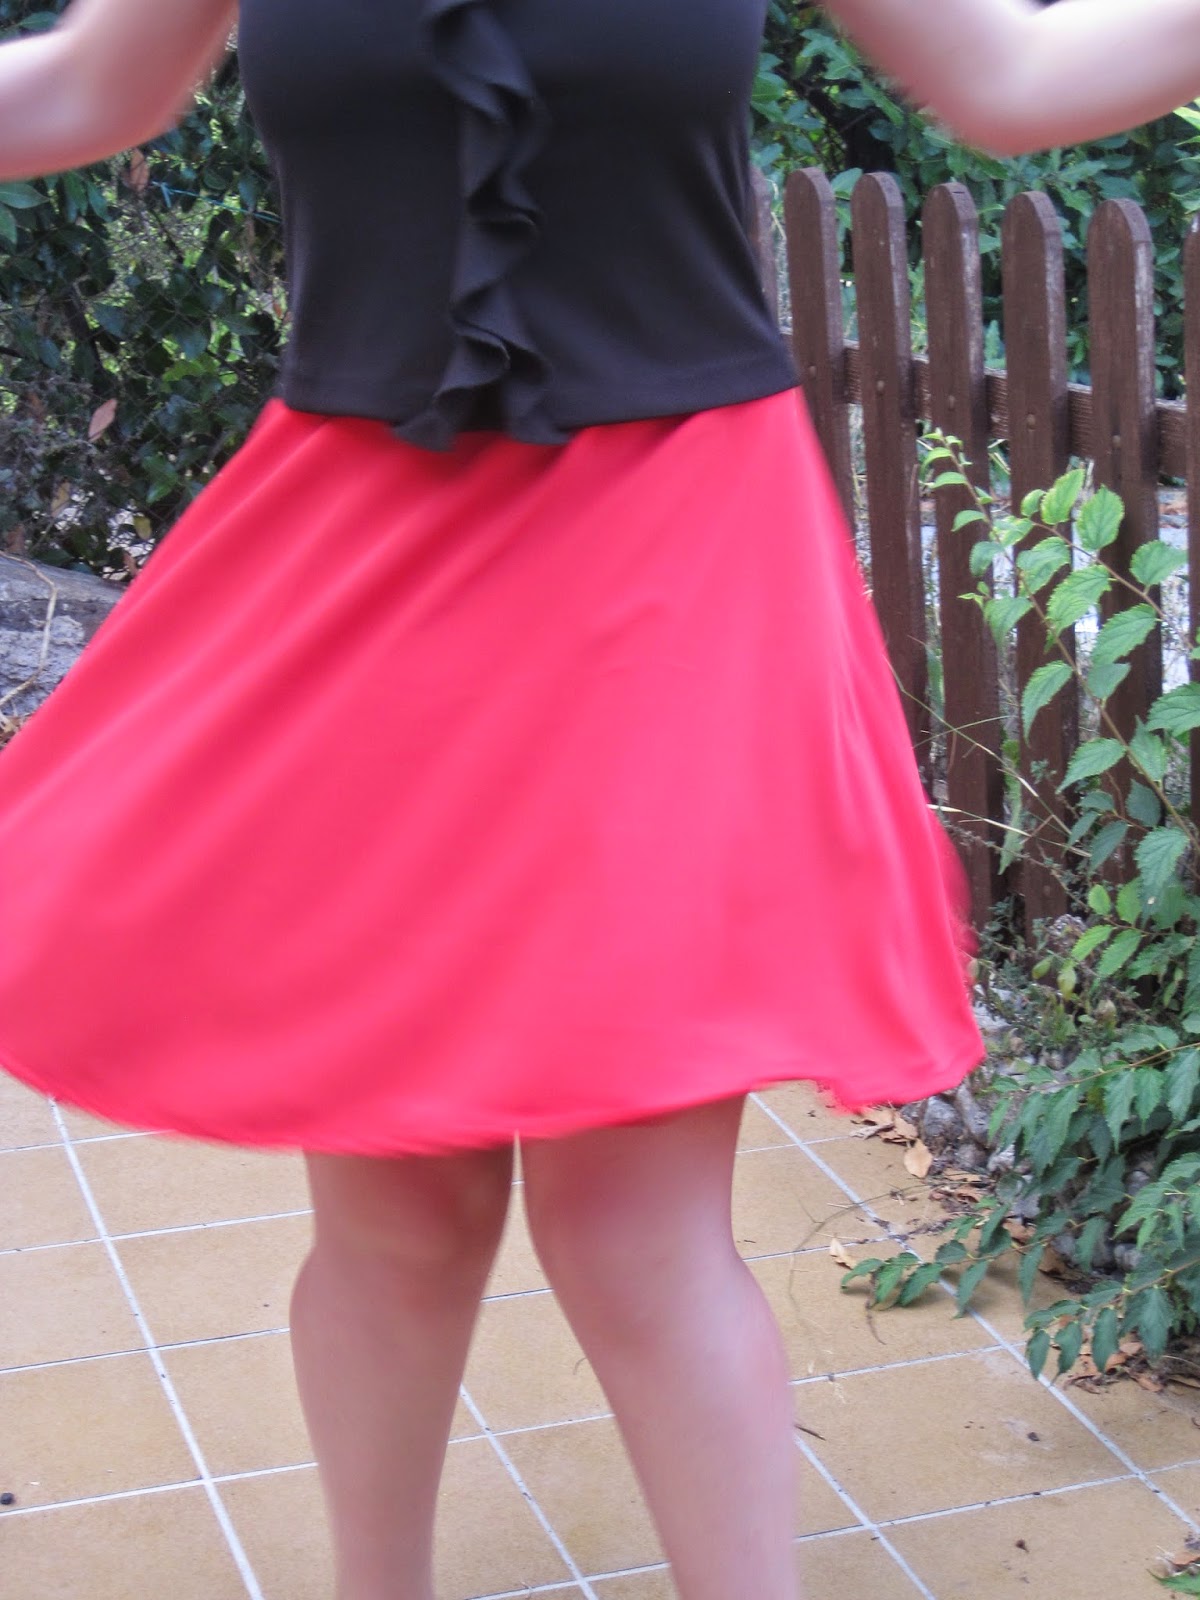
Sometimes, I get involved in tricky sewing projects and I end up really tired of them... I should combine them with some easy ones like this half circle skirt. I traced my own pattern (there are lots of blogs who explain how to do it) and added a waistband, but the zipper is too short and it's a bit difficult to put the skirt on...

A vegades dedic molt de temps a projectes complicats i me n'acab cansant fàcilment, per això, els hauria de combinar amb altres de més senzills com aquesta falda de mig cercle (mmm, en realitat no sé com tocaria dir-se en català...). Faig fer el meu propi patró (hi ha un munt de blocs que expliquen com fer-ho) i vaig afegir-li una cintureta, però la cremallera és massa curta i és una mica difícil posar-se la falda...


Why did I choose a half circle skirt? Being honest, I do not want to show my underwear if the day is a little bit windy (I'm very concerned about that). But I'm really happy with the result, it's so comfy and cute. 
And finally, the swirling photos!!

Per què no una falda circular? Sincerament, preferesc no mostrar la roba interior si fa un poc de vent, per això vaig optar pel mig cercle. Però estic molt contenta amb el resultat perquè és comodíssima i mona.
I finalment, fotos en moviment!!


15 de setembre del 2014

The Corset Dress

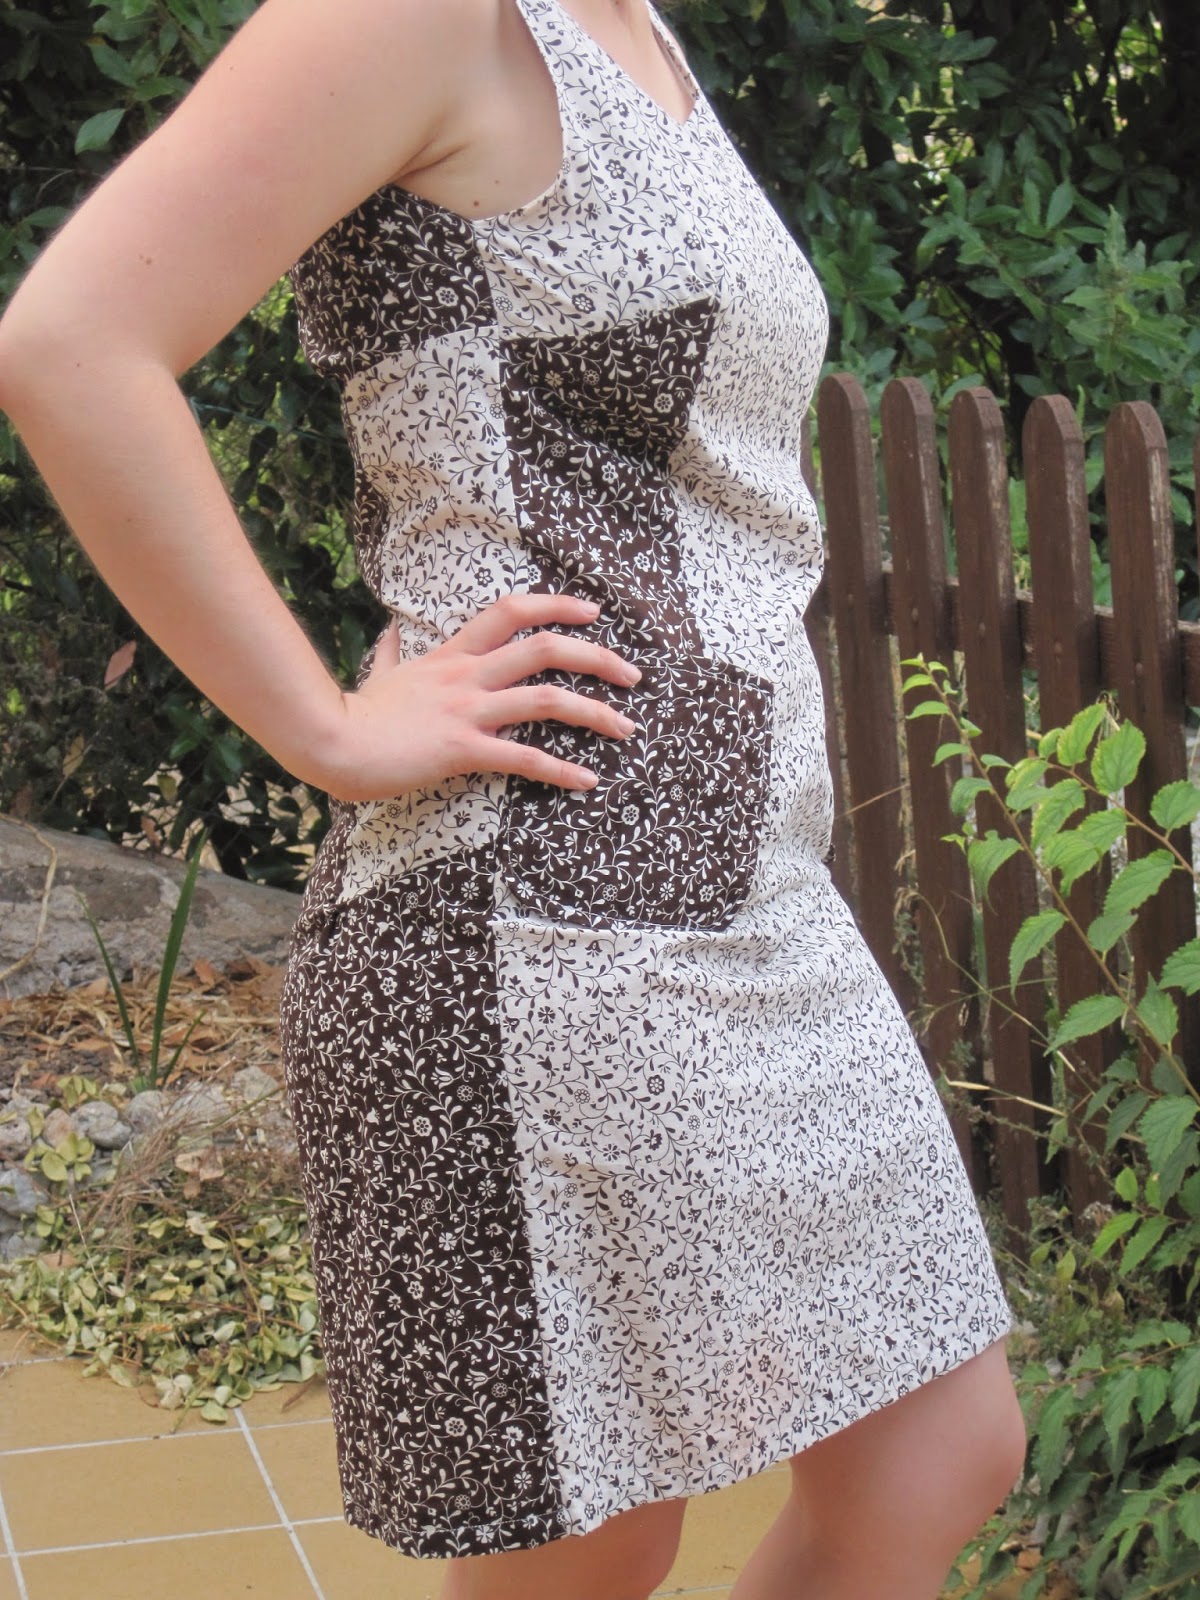
Two entries in less than a week, did I become mad? Mmmm, I don't think so, but there are a lot of projects I finished before or during summer that I did not show here. This one is a really special dress because I used the same fabric as in the first garment I sew.

No m'he tornat boja encara que escrigui dues entrades en menys d'una setmana, només que hi ha un munt de projectes d'abans o de durant l'estiu que encara no he mostrat per aquí. Aquest vestit és molt especial perquè vaig utilitzar la mateixa tela que per la primera peça de roba que vaig cosir.


That corset was made two years ago using an Alysse Créations kit (it had all the instructions and materials, except for the fabric). I made a first mock up that was too big, so I made the final version one size smaller, but it was also too big and I got a bit depressed at that moment. However, a year ago I found the exact same fabric with reverse colours and I plan to sew something using both fabrics.

El corsé és de fa dos i el vaig fer utilitzant un kit d'Alysse Créations (contenia les instruccions i tot el material excepte la tela). Faig fer una prova que va resultar massa gran i vaig utilitzar una talla més petita per la versió final, però tot i així encara era massa gran i em vaig deprimir un poc. De totes maneres, fa un any vaig trobar la mateixa tela amb els color a l'inrevés i se'm va acudir cosir alguna cosa amb totes dues.


The pattern used is from Burda, model #116 from June 2013 and it was a nightmare to sew those side panels (I did it about four or five times because they didn't fit or because I sew the wrong pieces...), but it was worthy and I was proud of the result. And one of the best things of the dress: POCKETS!

El patró és de Burda, model #116 de juny de 2013 i cosir les peces laterals va ser un vertader malson (ho faig fer i desfer quatre o cinc vegades, perquè no quedaven bé o perquè m'equivocava de peça), però va merèixer la pena i estic contenta amb el resultat. I el millor del vestit: té BUTXAQUES!


That's all for today, stay tuned for more entries soon and have a nice day!

Això és tot per avui, estau atents perquè hi haurà més entrades aviat i que tengueu un bon dia!

11 de setembre del 2014

DIY - Class Wear for Belly Dance

For the first time, I'm back with an easy tutorial of how to transform an old big T-shirt in a useful mini skirt for belly dance classes (sometimes you can't wear hip scarves with coins or crystals, but you would be able to wear this comfy skirt!).

Per primera vegada vos mostraré un tutorial de com convertir una camiseta gran i vella en una pràctica sobrefalda per les classes de dansa del ventre (a vegades no es poden dur mocadors amb monedes o peces de vidre, però sempre podreu utilitzar aquesta sobrefalda!).


First step: measurements. Take measurements for your belt line (where you want the skirt to sit), side length (mine is below my knee), center front and center back length (center back should be longer). And remember to check that the waistline is loose enoug.

Primer pas: prendre mesures. Prendre mesures de la cintureta de la falda (aquina alçada vols que quedi), el llarg lateral (la meva arriba fins davall el genoll), el llarg del davant i del darrere (el darrere ha de ser una mica més llarg). És important comprovar que el que serà la cintureta és suficientment ample.


Second step: cutting the fabric. Put the T-shirt on a flat area and fold it in half with the front on the outside. Then, mark it as shown in the picture: 1 is center front length, 2 is center back length and 3 is side length. Let's cut it!

Segon pas: tallar la tela. Posar la camiseta en una superfície plana i doblega-la per la meitat amb la part de davant cap a defora. Llavors, marcar les mides com al dibuix: 1 és el llarg de davant, 2 és el llarg de darrere i 3 és el llarg del lateral. A tallar-ho tot!


Third step: elastic band. This step is optional if your waistband is tight enough and the skirt doesn't fall. If not, make a casing (my T-shirt already had it) and leave a little gap where you can insert the elastic. Stitch both ends together and try on your creation.
*I removed the side stitches until I reached my hips, to my skirt has two long pieces of fabric on each side.

Tercer pas: elàstic. Aquest pas és opcional si la cintureta és prou estreta i la falda no cau. Si no és així, s'ha de fer un doblec (la meva camiseta ja tenia el doblec fet) i deixar un forat per on passar l'elàstic. Fer unes puntades als dos extrems de la falda i ja es pot provar.
*També he descosit els laterals de la sobrefalda fins arribar als genolls, d'aquesta manera hi ha dues peces llargues de roba a cada costat.


My mistake: I cut the center front and back the same length, so I felt like I was showing too much bottom and I ended up adding another piece of fabric.

El meu error: vaig tallar el davant i el darrere igual i tenia la sensació que mostrava massa cul, així que vaig acabar afegint-hi un tros de tela.


And remember not to let your cat sleep on your fabric xD
Recordau que no heu de deixar dormir al vostre moix damunt la tela xD